We wanted to show you the simple way you can add visitor tracking from Google (free) onto your website to find out where visitors are coming from, what they do when they arrive, and how you can improve your website!
Step 1: Setup your Analytics Account
Prefer visual and written instructions? Just scroll down:
Go to Analytics.Google.com and click “Start Measuring” to setup your account.

- Account Setup – Enter your website domain and then simply leave the recommended options.
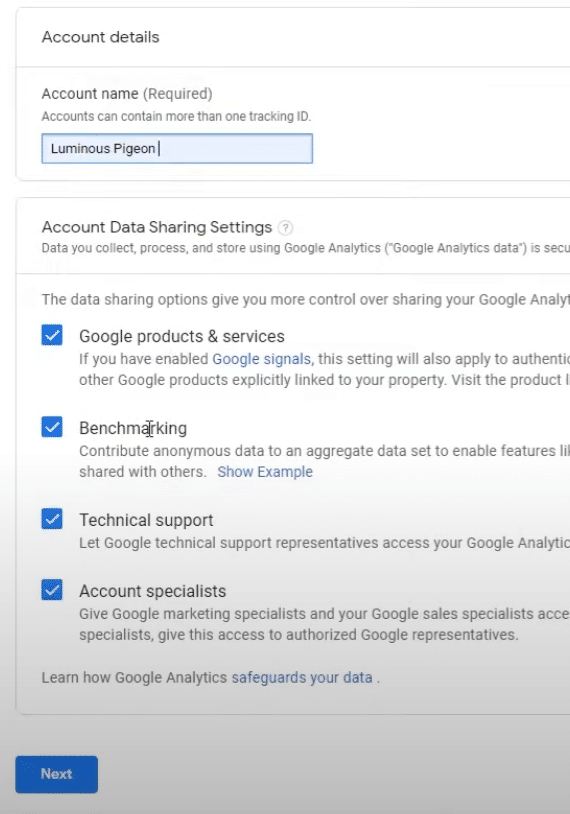
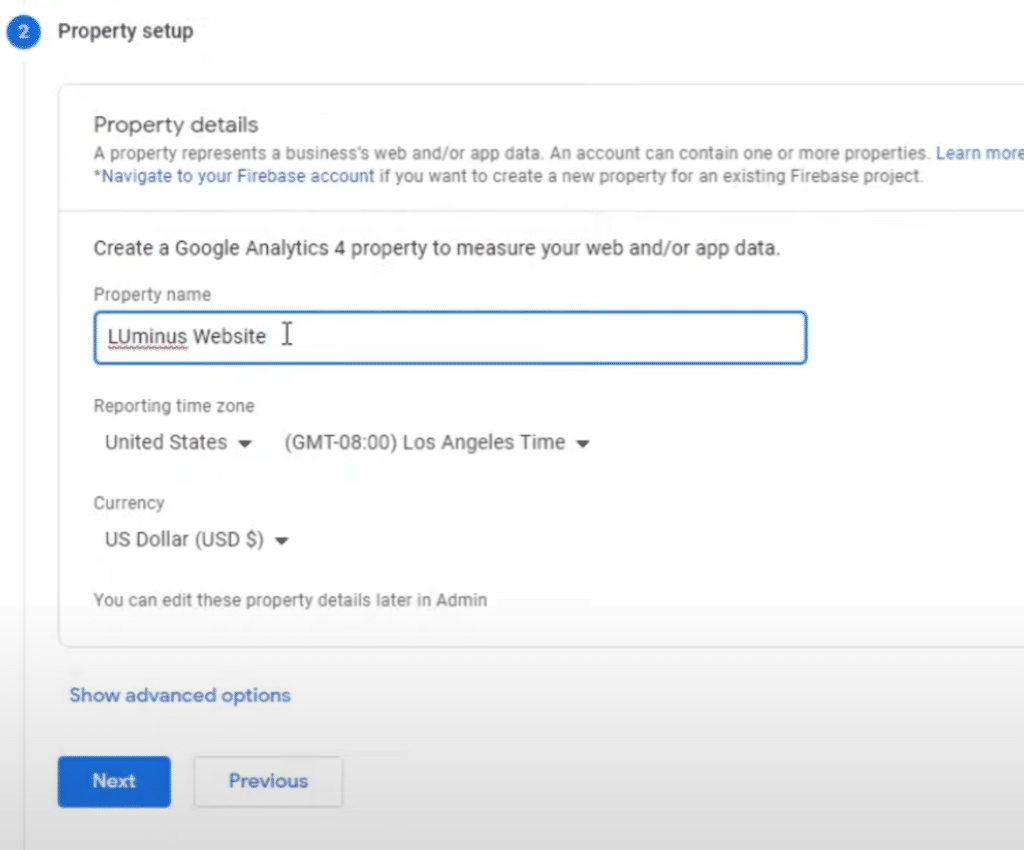
2. Property Setup – Under “property name” type the name of your website followed by “website”. Leave the recommended options.
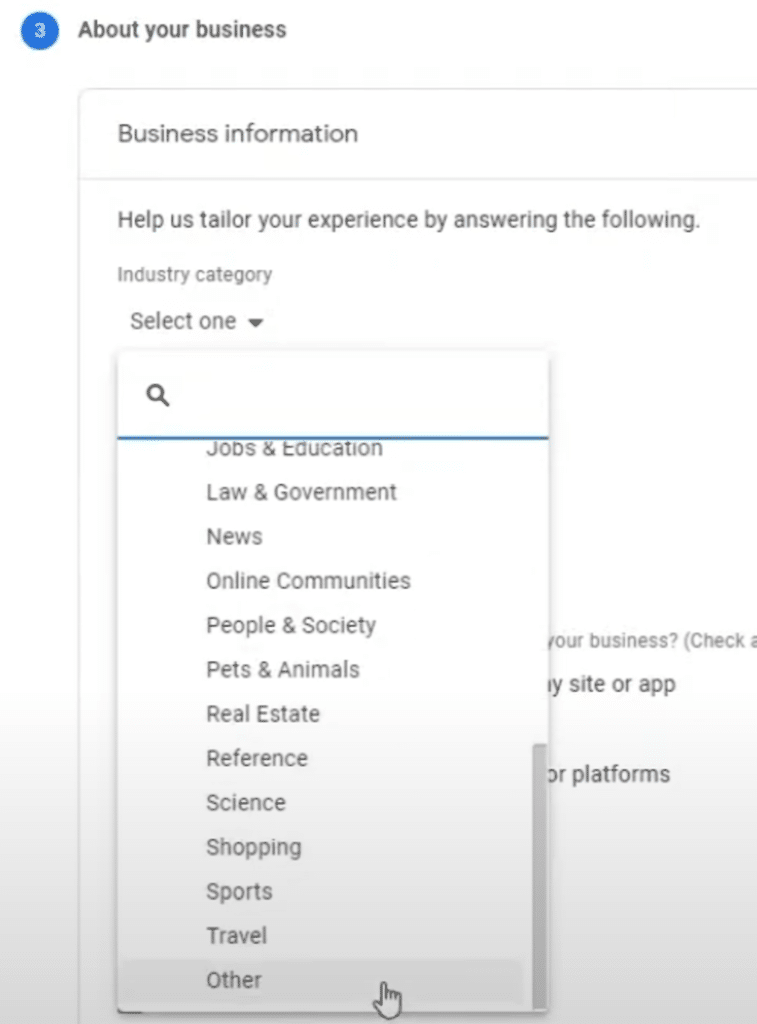
3. About Your Business – If you can find a Business Category that matches your business, pick it. If not, select other.
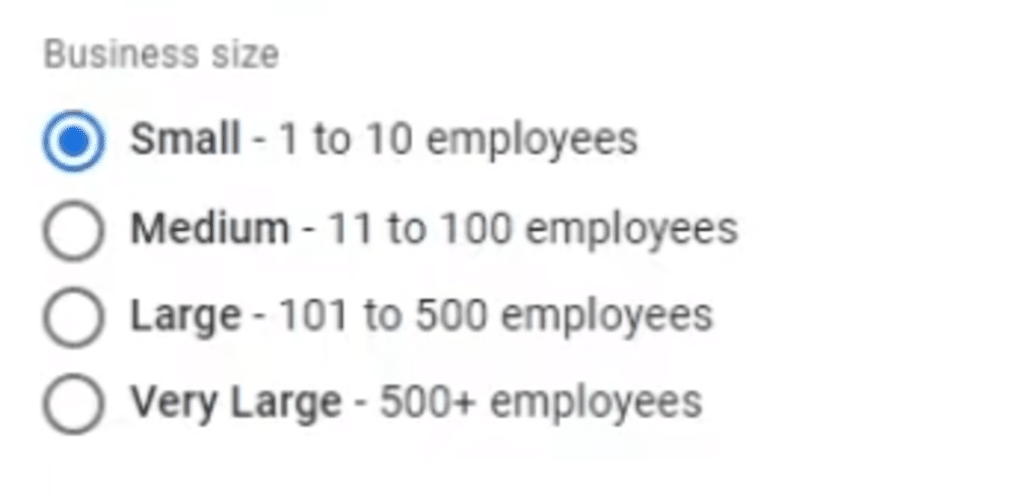
Select your Business Size
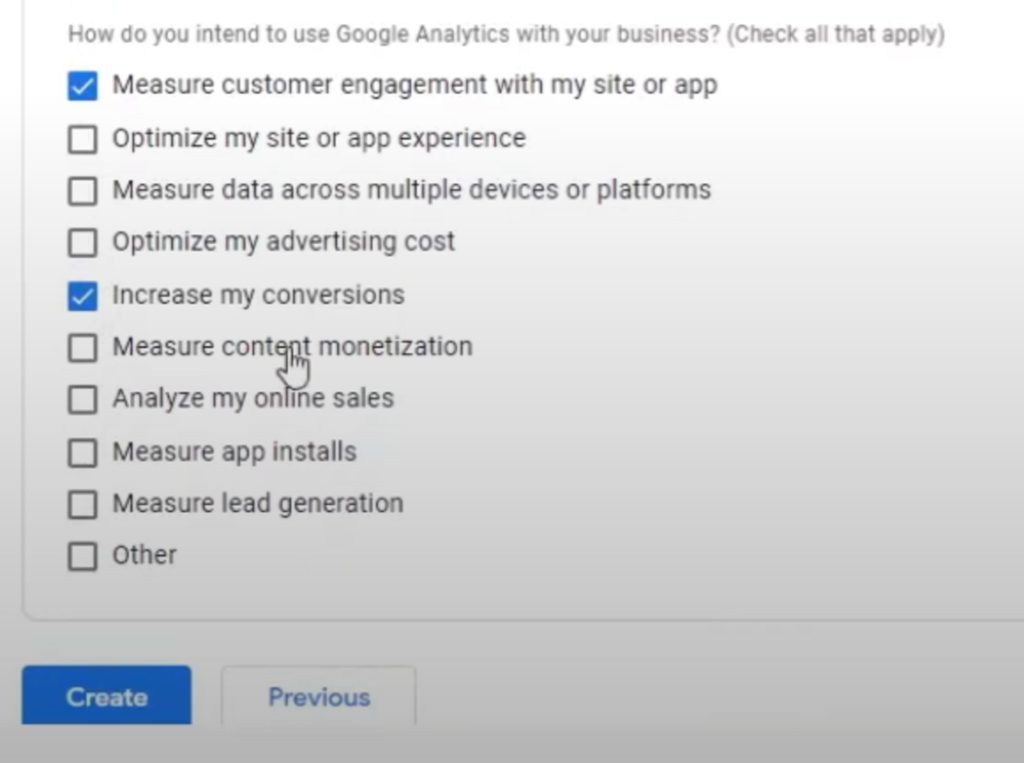
Choose how you want to use google analytics. For starters, we recommend measure customer engagement and increase my conversions.
4. Terms of Service – Agree to the terms of service.
5. Email Communications – Select which notifications you would like to receive. We recommend performance suggestions and updates.
Step 2: Set up a Data Stream
Think of streams as a pathway for data to get from your website into google analytics.
For starters, select a web stream:
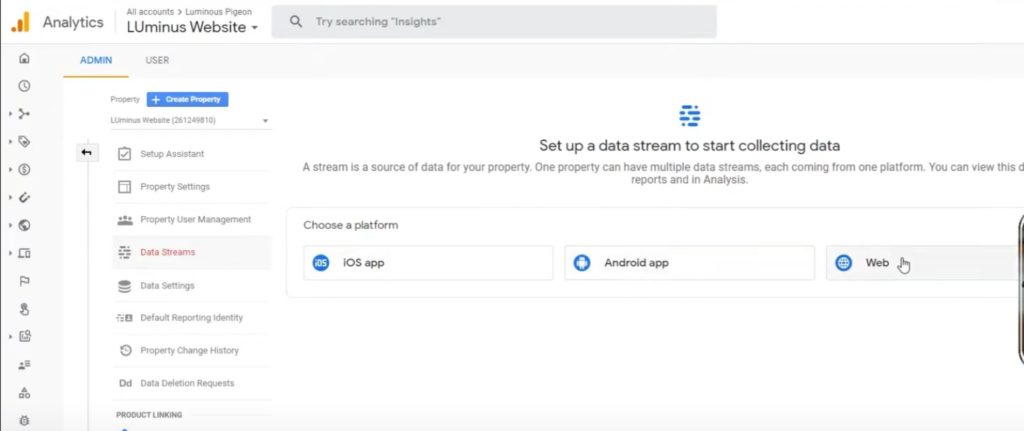
Input your site URL without the https://, and name your stream “Website”
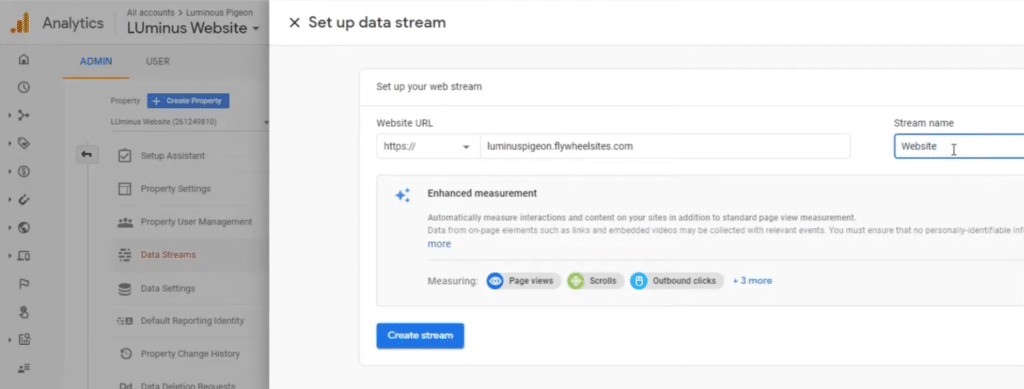
Leave the measuring options as is, and then click CREATE STREAM
Find and copy your ‘script’ tag from your Analytics Account
Step 3: Find and copy your ‘script’ tag from your Analytics Account
Under the Web stream you just created, click on the Global Site Tag tab.
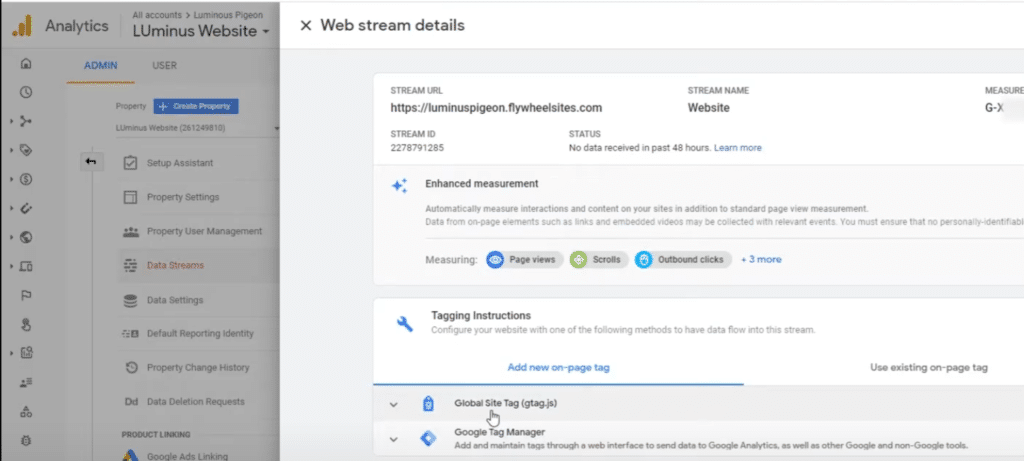
Copy the ALL of the code in that tab. This code is what helps google track your site.
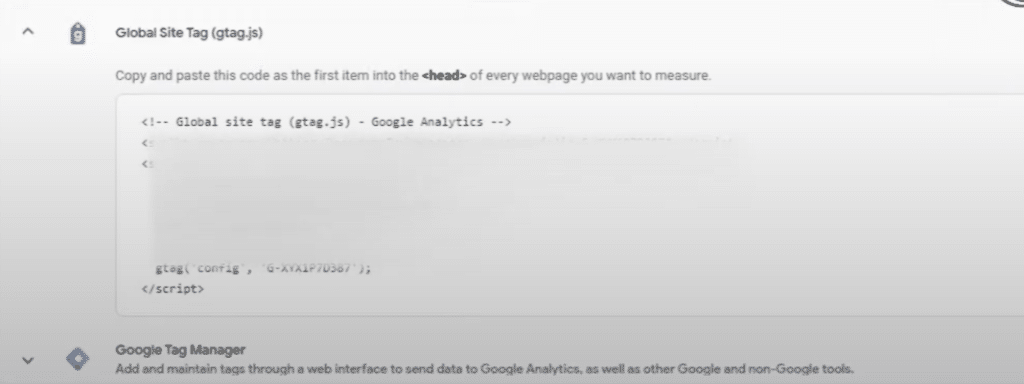
In the next step. you’re going to paste that code into your website.
Step 4: Easily add to your website or Launch Kit
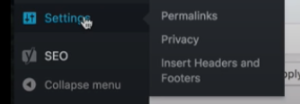
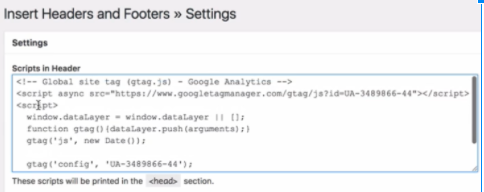
Paste your tag into your “Insert Headers and Footer” plugin on your website.
(If you don’t see that plugin under ‘settings’, then simply go to ‘plugins’, search for ‘insert header and footer’, and install and activate the plugin.)
Step 4: Watch your data
Save and watch the data flow!


