Watch Launch Kits Founder and Owner Justin Rule guide you through it:
We get questions on how to make and write great blogs on websites all the time. Things change quickly online with new algorithms and insights from research firms. Because of that, it can be hard to know what is the best practice when it comes to your website’s blog.
It’s not ‘artificial intelligence’ that will work best, but rather ‘artificial inspiration’ that converts and indexes with Google the best!
Here I want to walk you through the basics of what makes a blog great. Whether you are writing your blog yourself, or having someone create posts for you, these tips will help your website’s blog make the most impact. When these things are done consistently it will give you the leg up in getting found online.
(Launch Kits Customers NOTE: Your website backend is going to look the same as demonstrated in the video embedded in this blog, so follow along on how to create a great blog post. You will be able to recognize the elements that make up your backend and navigate your blog posts like explained in the video.)
Three Key Elements to a GREAT Blog

When you are blogging, there are three key elements to keep in mind. One is creating smart content that is organized, easy to read, and contains SEO keywords. The second important element to keep in mind is what you are linking – take your users on a helpful journey of links through your website. The last element to keep in mind is the visual appeal and design of your blog.
GREAT Content

Get the Title Right
Before you even jump into the bulk of text on your blog post, you need to first consider the strength of your blog title. Make sure that your title has an SEO keyword in it and it relates to something that your customer is searching for online. This approach is the ideal tactic so that you can get found online. A general cutesy title will likely slip through the cracks of an online search.
Write the Post in the Editor on On a Google Doc
Secondly, when you start writing the bulk of your content, you can write directly in the “post” section of your WordPress backend or you may find it easier to write in a Google doc and then transfer over when you’re ready to publish.
On both WordPress and Google docs you can link and add photos and get your post ready to go. A Google Doc can get your layout and organization how you want and then you can easily copy and paste it over. Links also transfer over so you can take the time and connect all the links in your post on the doc and then when you paste it into WordPress they will be there ready to link.
Word Count Matters
One advantage of writing in a Google Doc is you can quickly and easily format the post with tools that aren’t as easily accessed in WordPress post editor. For example, the word count tool is a great resource in making sure you are hitting word count sweet spots on your posts.
The best blogs are going to have 1200+ words. That doesn’t mean that every time you write a post it needs to be what we call “long form” (1200+ words). However, it is important to have a meaty word count on most of your posts. 700-900 is a good goal to hit but even better is when you can write a post of 1200 or more words.
The reason for this is that longer posts are able to move the SEO needle and get you found online. You most definitely can write a 300-400 word blog from time to time. Examples of good shorter posts could be a company update, a case study, or a frequently asked question.
It’s not ‘artificial intelligence’ that will work best, but rather ‘artificial inspiration’ that converts best!
Launch Kits Founder, Justin Rule
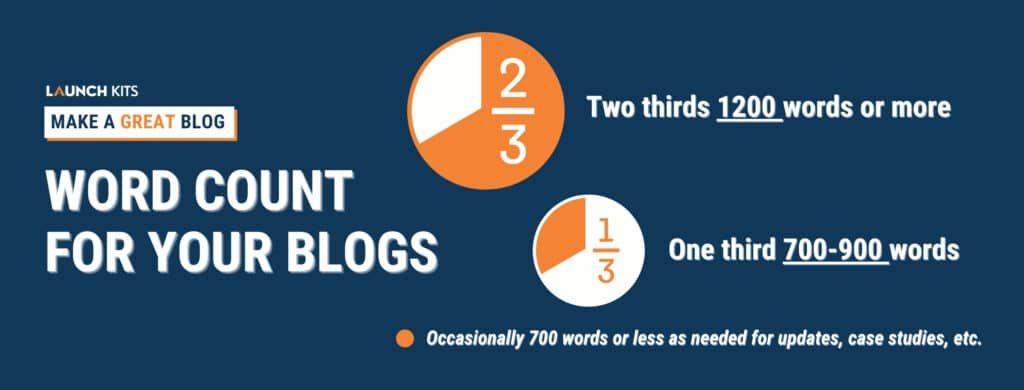
Here’s an easy breakdown:
Two thirds of your blogs should be 1200 words or more.
One third of your blogs should be 700-900 words.
And the occasional blog can be 700 words or less as needed.
A note on artificial intelligence:
While you’ll find many digital marketing companies pushing “ai”, as in artificial intelligence, to create blogs or articles to share with your audience or generate lead magnets and e-books – you won’t find us pushing that type of “ai”.
Rather, the best type of “ai” is artificial inspiration. Using tools like ChatGPT to generate content based on artificial intelligence, you should then take that content and use it as inspiration to create your own unique content. Think of it as the window-shop-view of the bakery item that you go and make on your own at home, but you would never have thought of unless you saw it first in the window.
Sometimes you don’t know exactly what you want to write or how to say it and AI (artificial intelligence) can push some great ideas to you. However, prove your the expert by taking that content and using it as inspiration, modify it, add your local expertise insights, and make it your own so you are not regurgitating auto-bot-created content for your brand.
It will index better. It will serve your customers better. It will prove YOU are the expert in the room.

GREAT Links
Offsite VS Internal Links
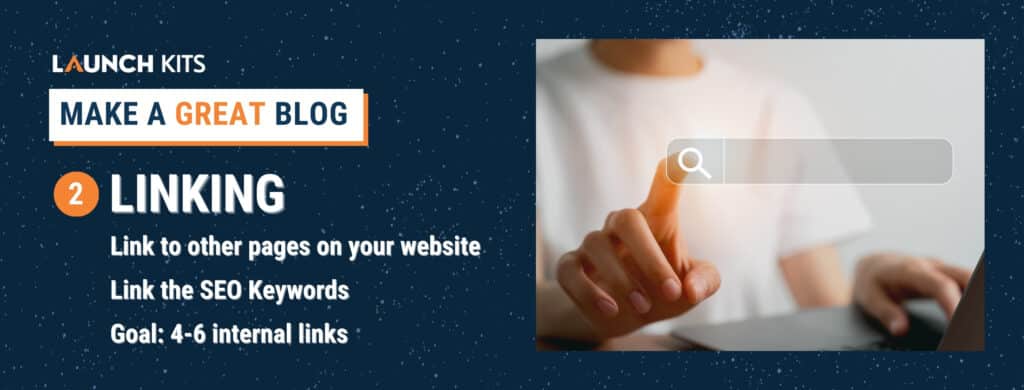
The second key to a great blog is great linking. When people are reading your blog, where are you directing them throughout the way? You can certainly have helpful offsite links that point to resources other than your own website but the biggest tip we can give is this: Link WITHIN your own website to direct them to your other pages.
Think of a blog as a doorway to another doorway, to a hallway, to another door within the same house (ie: the same website). You want people to go on a journey through your website to other things that are relevant. They call this “pillar and cluster”. You want a pillar page that links out to cluster articles that eventually loop back to the pillar page.
Use your website to direct people to important pages such as contact pages, event pages, etc.

Just as important as linking is what keywords you link. Consider what people are searching for and link that keyword in your blog.
For example, let’s say I really wanted everybody to go to my events page, I would link the words such as “things to do in downtown Columbia”. That way I am directing people where I want them to go and linking the wording they most likely would search online. You can do this throughout your articles as many times as makes sense.
Generally you want about four to six internal links within your blog. These are the links that are taking users somewhere else on your own website.
Link and Label Images
Another linking tip is to label and link images within your post. This also is helpful to SEO.
Great Visuals
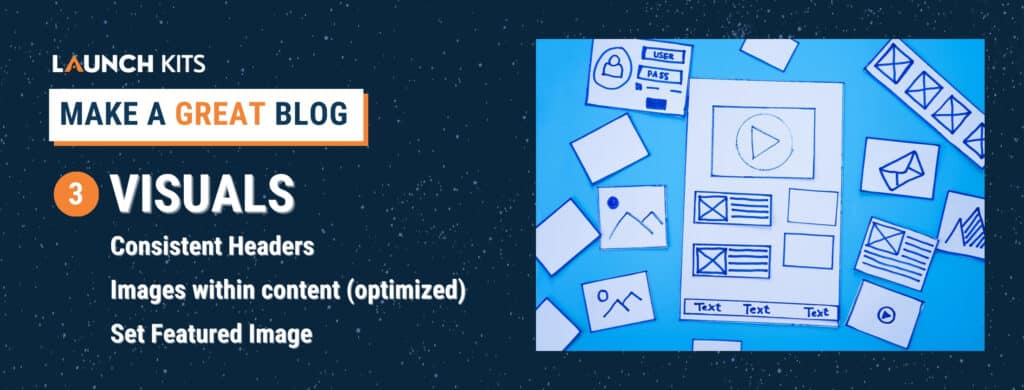
The third thing to keep in mind when creating a GREAT blog is the visuals. How does the post look? From formatting to graphics to images, does your post look approachable?
There are two ways you can make sure that your internal visuals are looking good.
Images Are Important
Obviously you want images so that your content stands out and doesn’t just look like a daunting block of text. Use free resources such as Pexels.com to find great images for free.
To add images into a post you just add an image block within the post editor. You can even add a fuller gallery of images to feature more than one image at a time. You can also add relevant videos or upload a video directly from a YouTube link. Please make sure your images are optimized for web so that you’re not slowing down your site.
If you want to put a caption on it, you can go to the right side of the post editor and put captions that will help tag your image.
Formatting For Easy Reading
Make sure your post is correctly formatted with headers that break up the text and allow a great visual flow.
Categories and Tags
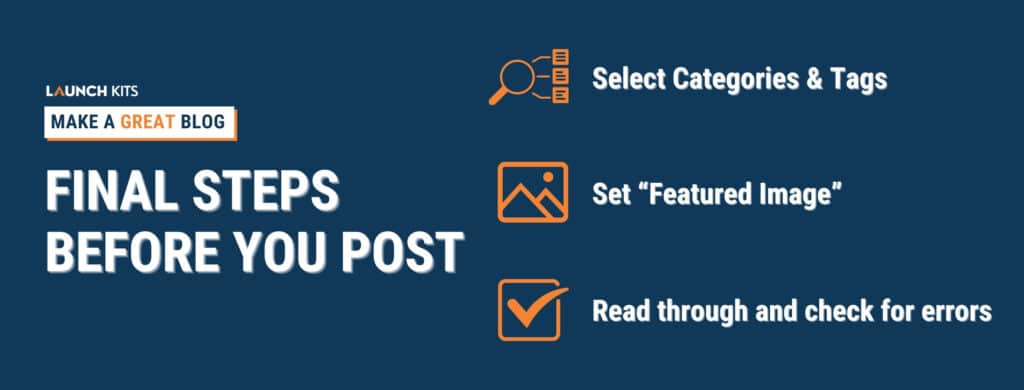
Before you post, make sure you correctly categorize and tag your posts. This can be done on the right hand side of the post editor. Make sure you have at least one category on your blog. You can add categories and as many tags as you want on your posts.
Tags don’t really have SEO value but they do have great sorting value for those navigating your site. Categories however can have some SEO value in terms of helping Google understand how your categories are set up.
Featured Image
Finally don’t forget a featured image. This is the first image that shows up to showcase your blog post. You can pick this and upload it onto the righthand side of the post editor. Make sure you do this instead of adding it directly in your post.
Control the Front End User Experience Design
It’s important that all your blogs look consistent. So how do you control the way all your blogs look on your website?
When you’re in the blog, go to “edit with Elementor”. Then go to the “single blog editor”. In that single blog editor, it’s controls how the template for your blog looks. In this place you can determine the design style of all of your blogs. You can make changes to the hero section, featured image, fonts, colors, and so on. When you change things here it changes it across the board on all your blog posts.
So, how can you create a GREAT blog every time? Make sure your content, linking, and visuals are spot on so that you can be found and create a great user experience.
Have questions? Just ask Support@LaunchKits.com. We’re here to help!
Don’t have a Launch Kit of your own and want to get a head start with a website that is optimized for best blog practices? Check out our pricing!


